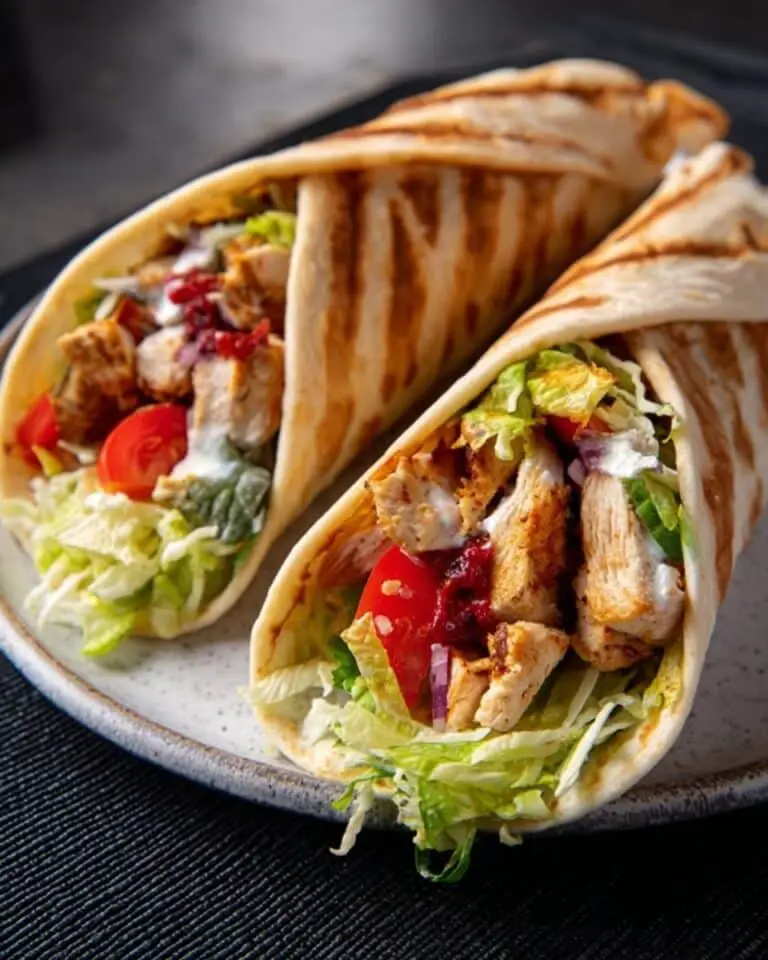
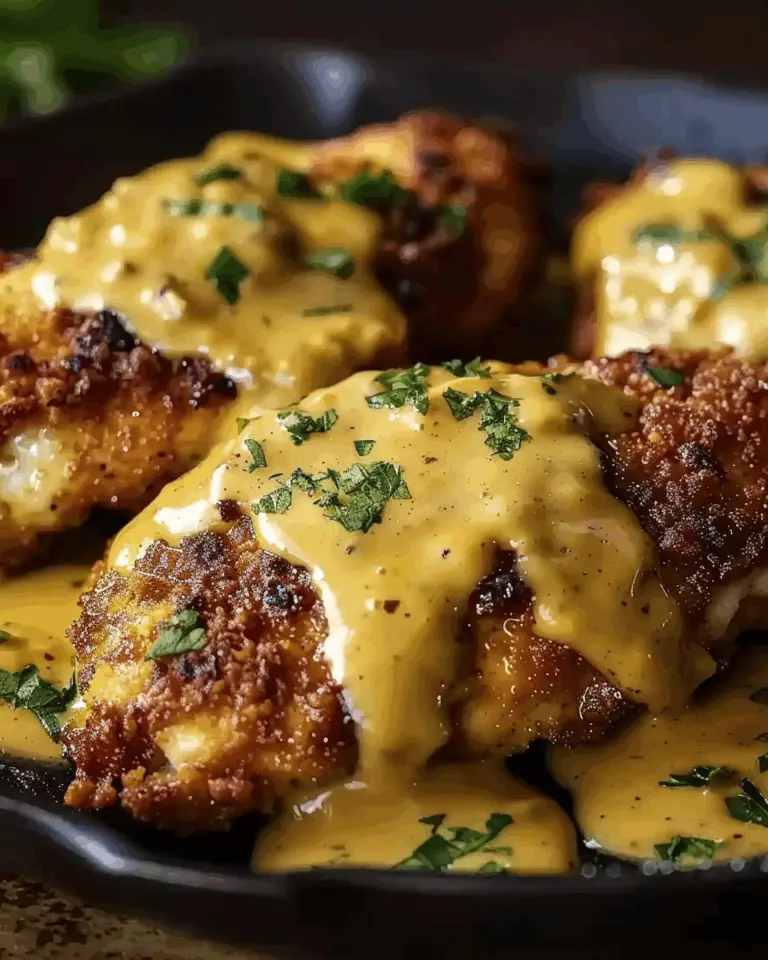
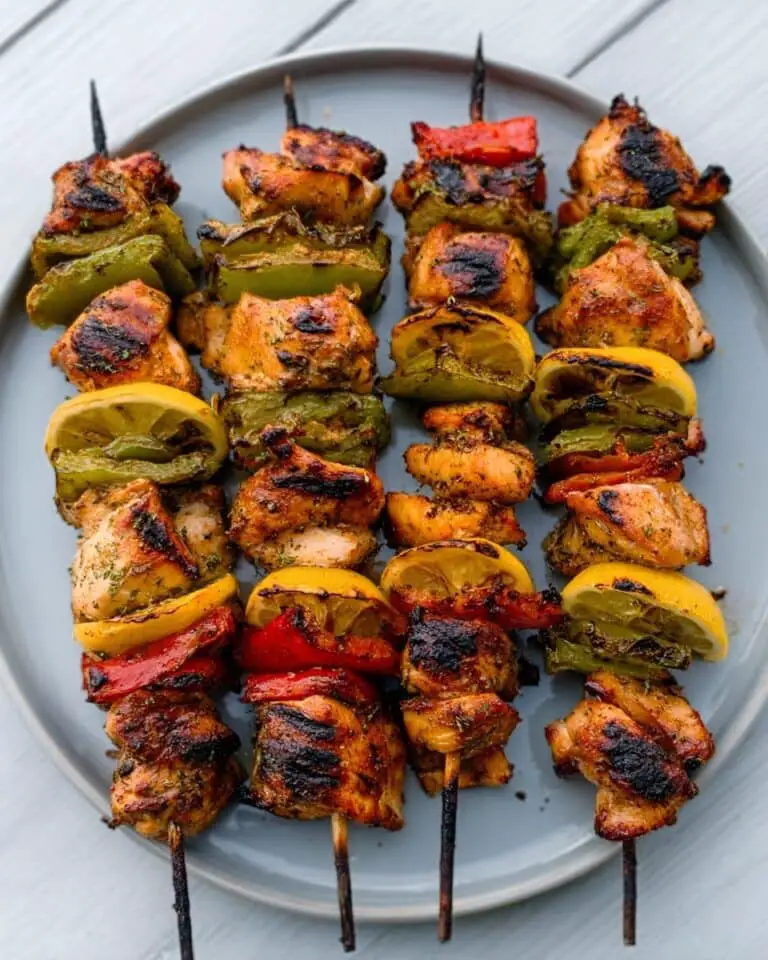
If you have ever wished for a chicken breast that is incredibly tender, bursting with flavor, and always perfectly cooked, the Juicy Sous Vide Chicken Breast with Quick Sear Recipe is about to become your new go-to. This method ensures every bite is juicy and succulent, thanks to the magic of sous vide cooking combined with a quick, flavorful sear at the end. Whether you’re meal prepping for the week or simply craving a restaurant-quality chicken dinner, this recipe delivers foolproof results that will impress anyone at your table.
Ingredients You’ll Need
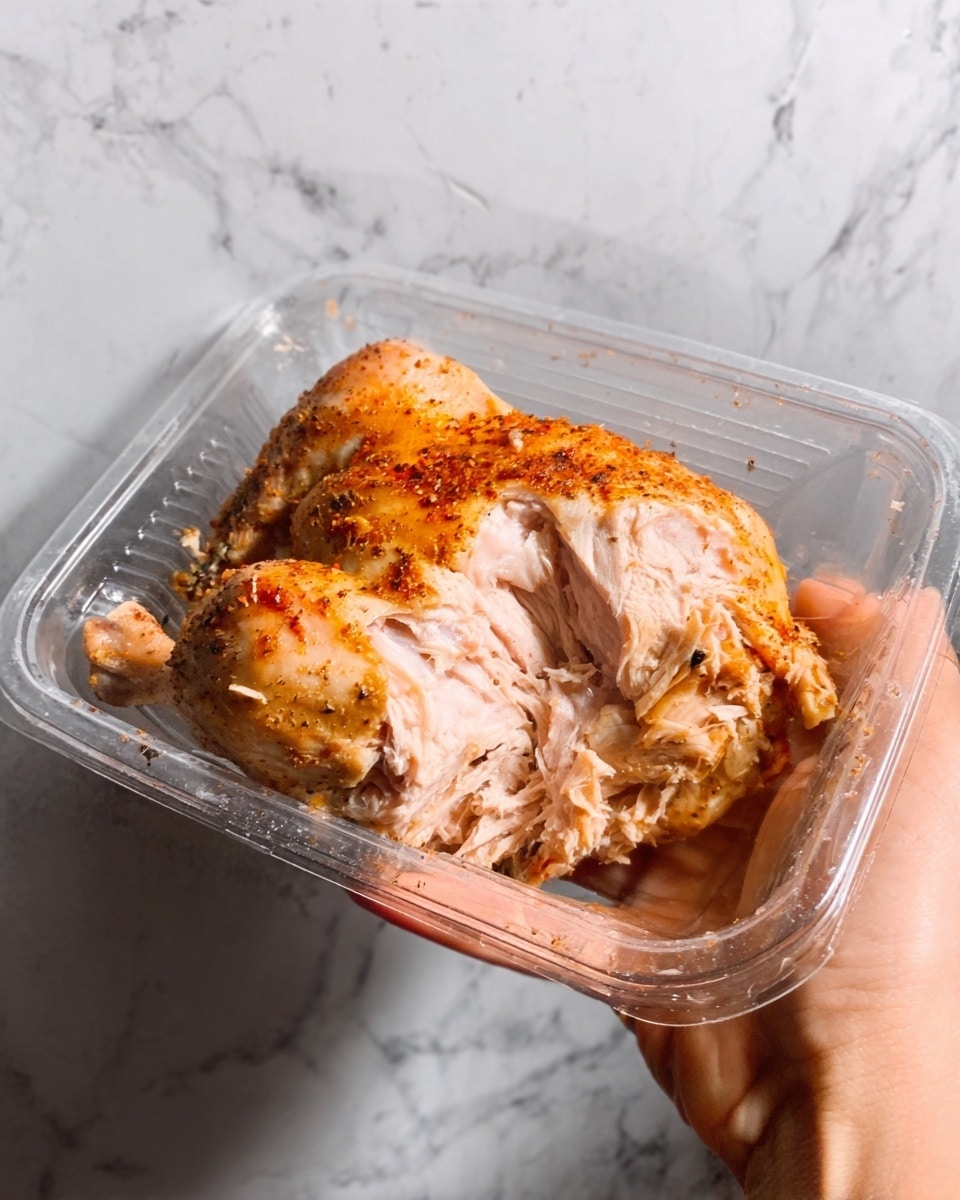
The best part about the Juicy Sous Vide Chicken Breast with Quick Sear Recipe is how simple yet essential the ingredients are. Each one is chosen to enhance the natural flavor, texture, and color of the chicken without overpowering it, creating a wonderfully balanced dish.
- 2 boneless, skinless chicken breasts: These form the perfect base, providing a lean and healthy protein that soaks up every bit of seasoning and cooking technique.
- 1 tbsp olive oil or butter: Adds richness and helps prevent sticking during the sear, while contributing a golden, appetizing crust.
- ½ tsp salt: Elevates the chicken’s natural flavors and helps tenderize the meat.
- ¼ tsp pepper: Provides a gentle kick, balancing the seasoning without overwhelming the palate.
- ½ tsp garlic powder: Offers a subtle aroma and depth to complement the chicken perfectly.
- Fresh herbs (optional): Placing herbs like thyme or rosemary in the bag imparts a delicate fragrance that enhances the overall flavor profile.
How to Make Juicy Sous Vide Chicken Breast with Quick Sear Recipe
Step 1: Preheat Your Sous Vide Water Bath
Setting your water bath to the exact temperature of 145 °F (63 °C) is crucial for cooking the chicken to juicy perfection. This temperature ensures the chicken cooks evenly and gently, locking in moisture without overcooking.
Step 2: Season and Seal the Chicken
Pat your chicken breasts dry and season them evenly with salt, pepper, and garlic powder. Add the olive oil or butter and fresh herbs if you’re using them, then seal everything tightly in a vacuum bag or a zip-top bag using the water displacement method. This step guarantees the flavors infuse throughout the chicken during the sous vide cooking process.
Step 3: Cook Sous Vide for 1½ to 2 Hours
Submerge the sealed bag in the water bath and let the magic happen. The precise temperature control cooks your chicken slowly and gently, resulting in a tender, juicy texture you simply cannot achieve through conventional methods.
Step 4: Remove and Pat Dry
Once cooked, very carefully remove the chicken breasts from the bag and pat them dry with paper towels. Getting the surface as dry as possible is essential to achieving that quick sear without steaming the meat.
Step 5: Quick Sear for Flavor and Color
Heat a skillet over high heat and add a little olive oil or butter. Sear your chicken breasts for about 30 to 60 seconds on each side just to develop a beautiful golden crust. This final step adds texture and that irresistible caramelized flavor to your juicy sous vide chicken.
Step 6: Rest Before Slicing
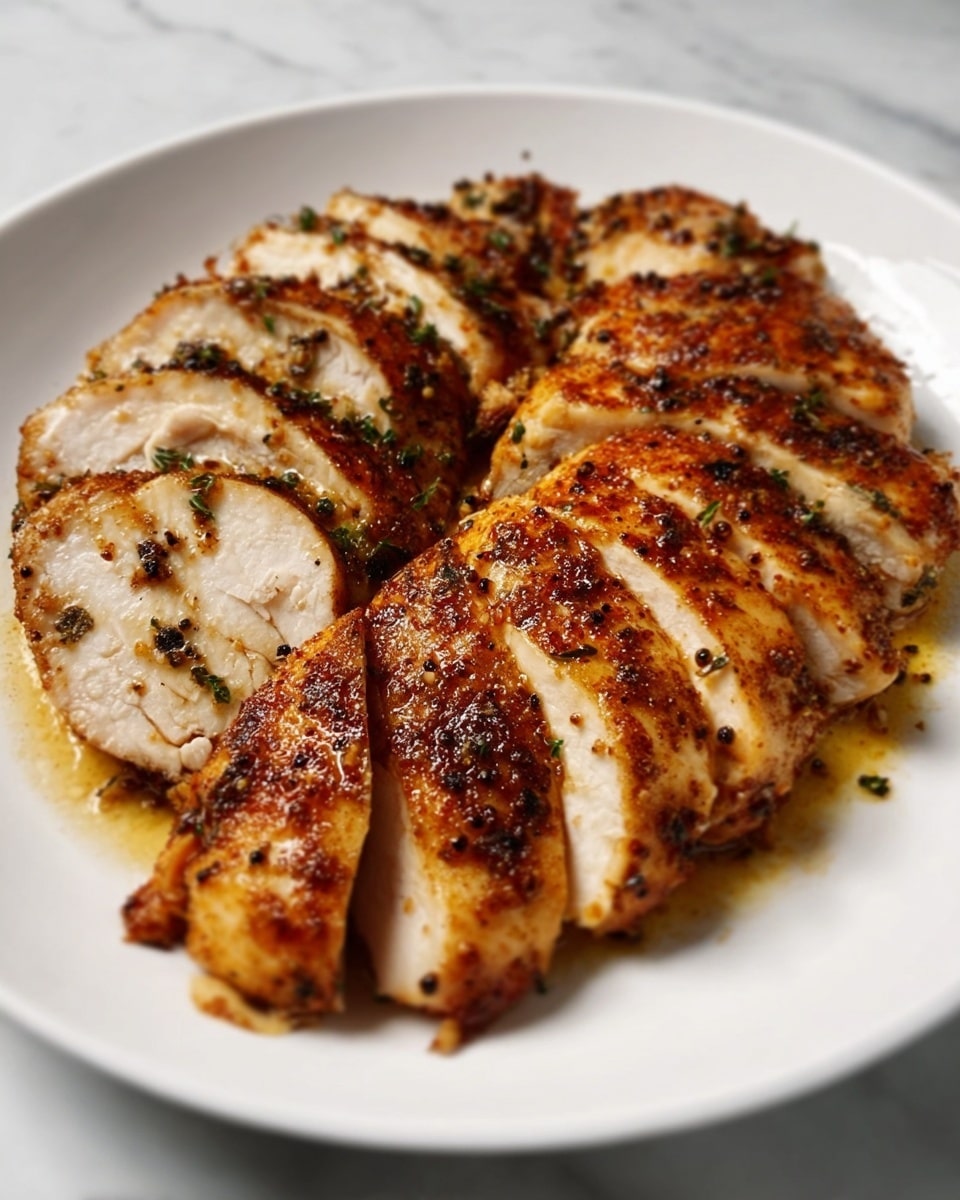
Let the chicken rest for 5 minutes after searing. This allows the juices to redistribute throughout the meat, guaranteeing every slice remains succulent and flavorful.
How to Serve Juicy Sous Vide Chicken Breast with Quick Sear Recipe
Garnishes
Fresh herbs make a perfect garnish for this dish—sprinkle chopped parsley, chives, or thyme over the top just before serving to add a vibrant color contrast and a fresh burst of flavor. A light drizzle of lemon juice or a dollop of herb-infused butter can also elevate the presentation and taste.
Side Dishes
This chicken pairs wonderfully with a wide array of side dishes. Consider a crisp garden salad for contrast, roasted seasonal vegetables to keep it wholesome and hearty, or creamy mashed potatoes for a comforting classic. The simplicity of the chicken allows these sides to shine alongside it.
Creative Ways to Present
Slice the chicken thinly over a bed of grilled vegetables for a colorful and visually appealing plate. Or, cube it and toss with a light vinaigrette and fresh greens for a protein-packed salad. You can even use it as a topping for warm grain bowls or pasta dishes, where its juiciness adds an incredible texture and flavor boost.
Make Ahead and Storage
Storing Leftovers
If you happen to have leftovers, store them in an airtight container in the refrigerator. Because of the sous vide method, the chicken retains its moisture well, staying juicy for up to 4 days, which makes it perfect for quick lunches or dinners down the line.
Freezing
You can freeze cooked chicken breasts to extend their shelf life. Wrap them tightly in plastic wrap and then place in a freezer-safe bag or container. When frozen properly, the chicken maintains good texture and flavor for up to 3 months, making it an excellent meal prep option for busy weeks.
Reheating
To reheat, gently warm the chicken in a low oven or a skillet with a little bit of oil to restore the seared crust without drying out the tender interior. Avoid microwaving directly as it tends to create rubbery texture; instead, use stovetop or oven methods for best results.
FAQs
What if I don’t have a vacuum sealer?
No worries! You can use a high-quality zip-top bag and use the water displacement method to remove as much air as possible before sealing. This method works just as well to ensure the chicken cooks evenly.
Can I adjust the cooking temperature for different textures?
Absolutely! Cooking at 140 °F delivers a softer, more tender texture, while 150 °F produces a firmer, yet still juicy, chicken breast. Feel free to experiment to find your favorite texture.
How long can I sous vide chicken for safety?
The recipe calls for 1½ to 2 hours, which is plenty to cook the chicken thoroughly while maintaining food safety. Cooking longer won’t harm it but may change the texture slightly.
Is the quick sear really necessary?
Yes, the quick sear is what transforms the chicken from simply cooked to irresistible. It creates a flavorful crust that contrasts beautifully with the tender interior, adding depth and complexity to each bite.
Can I sous vide chicken with skin on?
Definitely! Leaving the skin on adds flavor and can become crispy with a longer sear, but you’ll want to adjust cooking times slightly. If you prefer skinless, the recipe works perfectly as is.
Final Thoughts
If you want to take your chicken game to the next level, trying out the Juicy Sous Vide Chicken Breast with Quick Sear Recipe is a must. It transforms a basic ingredient into something truly special with minimal effort and maximum flavor. Once you taste just how juicy and tender this chicken can be, it will quickly become a favorite in your cooking rotation. Give it a go—you won’t regret it!
Print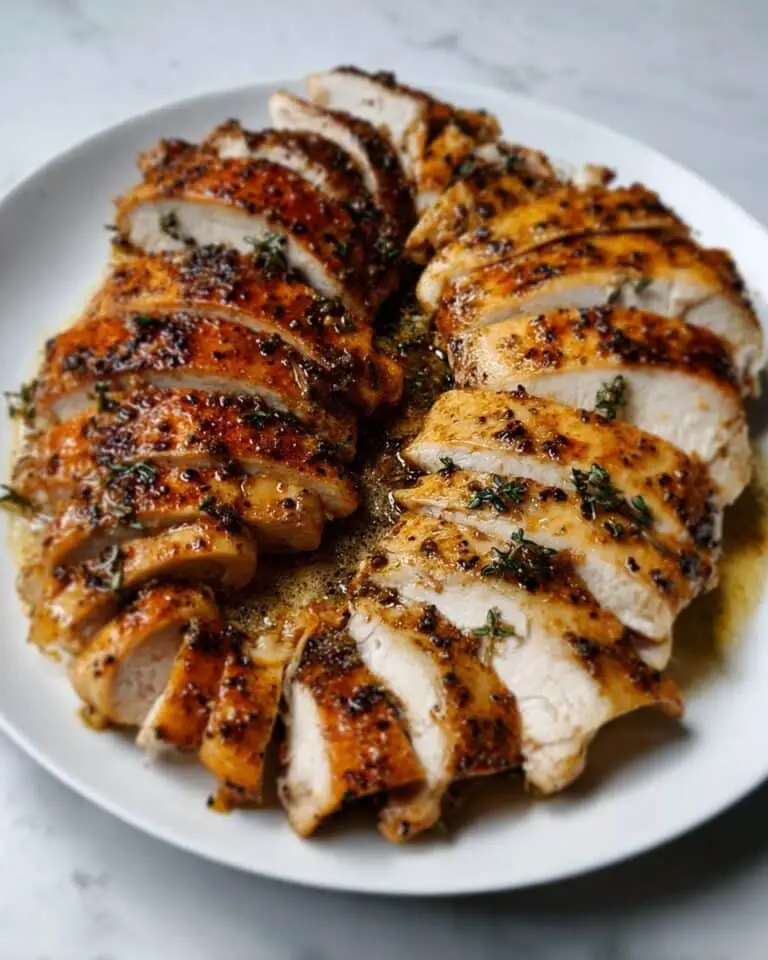
Juicy Sous Vide Chicken Breast with Quick Sear Recipe
Perfectly juicy and tender sous vide chicken breast, cooked slowly to lock in moisture and finished with a quick sear for a flavorful crust. Ideal for meal prep or a nutritious dinner, this method ensures foolproof results every time.
- Total Time: 2 hours 5 minutes
- Yield: 2 servings
Ingredients
Chicken
- 2 boneless, skinless chicken breasts
Seasonings & Extras
- 1 tbsp olive oil or butter
- ½ tsp salt
- ¼ tsp pepper
- ½ tsp garlic powder
- Fresh herbs (optional, for bag)
Instructions
- Preheat the Sous Vide: Fill your sous vide container with water and preheat it to 145 °F (63 °C) to ensure even cooking of the chicken breasts.
- Season and Seal: Season the chicken breasts with salt, pepper, and garlic powder. Place them in a vacuum seal bag or a zip-top bag along with the olive oil or butter and optional fresh herbs. Seal the bag tightly to prevent water from entering.
- Cook Sous Vide: Submerge the sealed bag fully in the preheated water bath. Cook for 1½ to 2 hours, allowing the chicken to gently cook through while retaining moisture.
- Remove and Dry: After cooking, carefully remove the chicken from the bag and pat it dry with paper towels. Drying the surface ensures a better sear.
- Sear the Chicken: Heat a skillet over high heat and add a small amount of oil or butter if desired. Quickly sear the chicken breasts for 30 to 60 seconds on each side until a golden-brown crust forms.
- Rest and Serve: Let the chicken rest for 5 minutes to allow juices to redistribute before slicing and serving.
Notes
- Great for meal prep — chicken stays moist and flavorful for up to 4 days when stored properly in the refrigerator.
- Adjust the sous vide temperature to control texture: 140 °F (60 °C) for softer, tender chicken or 150 °F (65.5 °C) for a firmer texture.
- Prep Time: 5 minutes
- Cook Time: 2 hours
- Category: Dinner / Meal Prep
- Method: Sous Vide
- Cuisine: Modern American
- Diet: Low Carb

