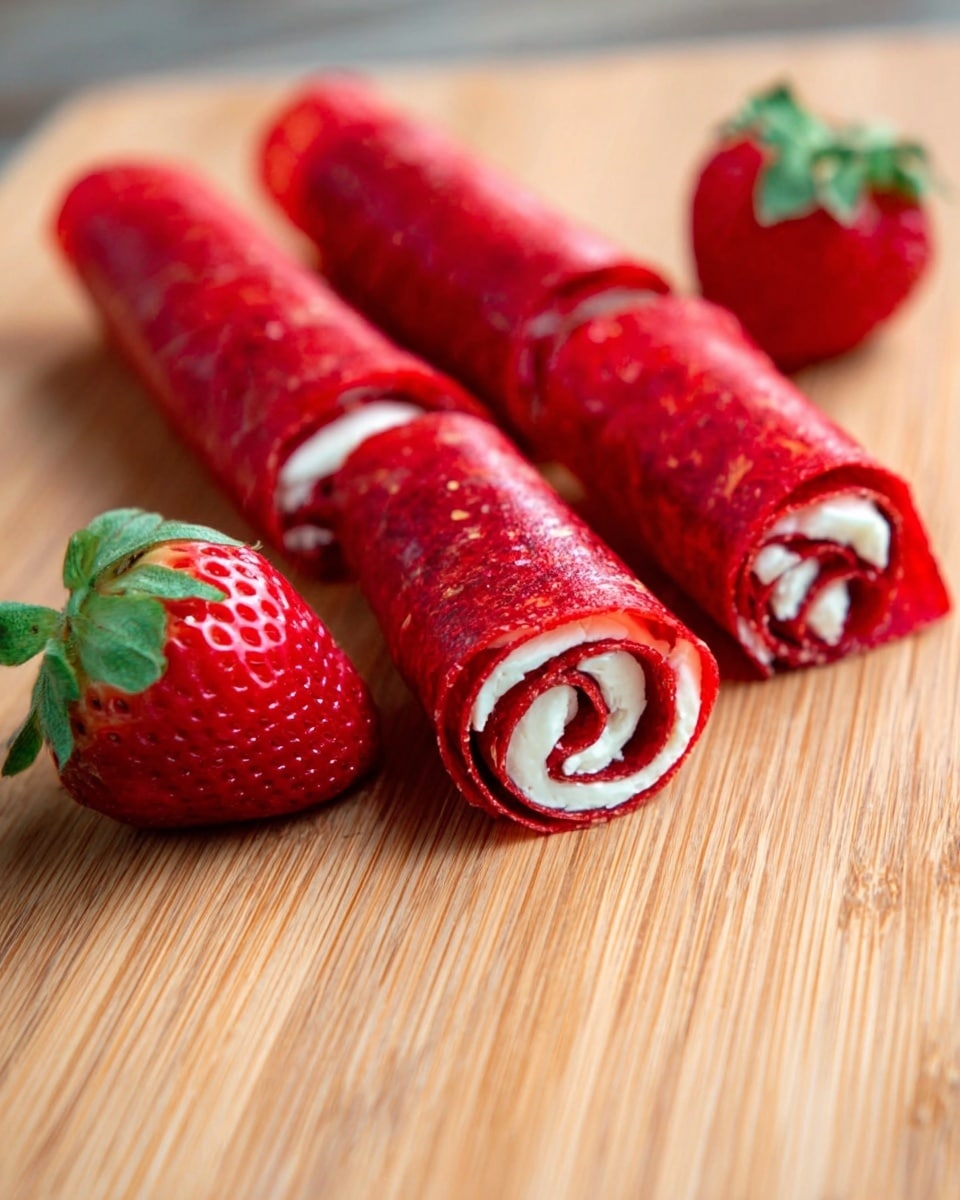
If you’re craving a nostalgic, homemade snack that bursts with natural sweetness, you’re going to adore this Easy Strawberry Fruit Roll-Ups Recipe. Crafted from just fresh strawberries, a touch of honey, and a splash of lemon juice, these fruit roll-ups are delightfully chewy, naturally vibrant, and utterly wholesome. Perfect for kids and adults alike, this recipe brings back the fun of fruit leather with zero additives or mystery ingredients. Once you taste that pure strawberry flavor wrapped in a shiny roll, you’ll wonder why you never made these before!
Ingredients You’ll Need
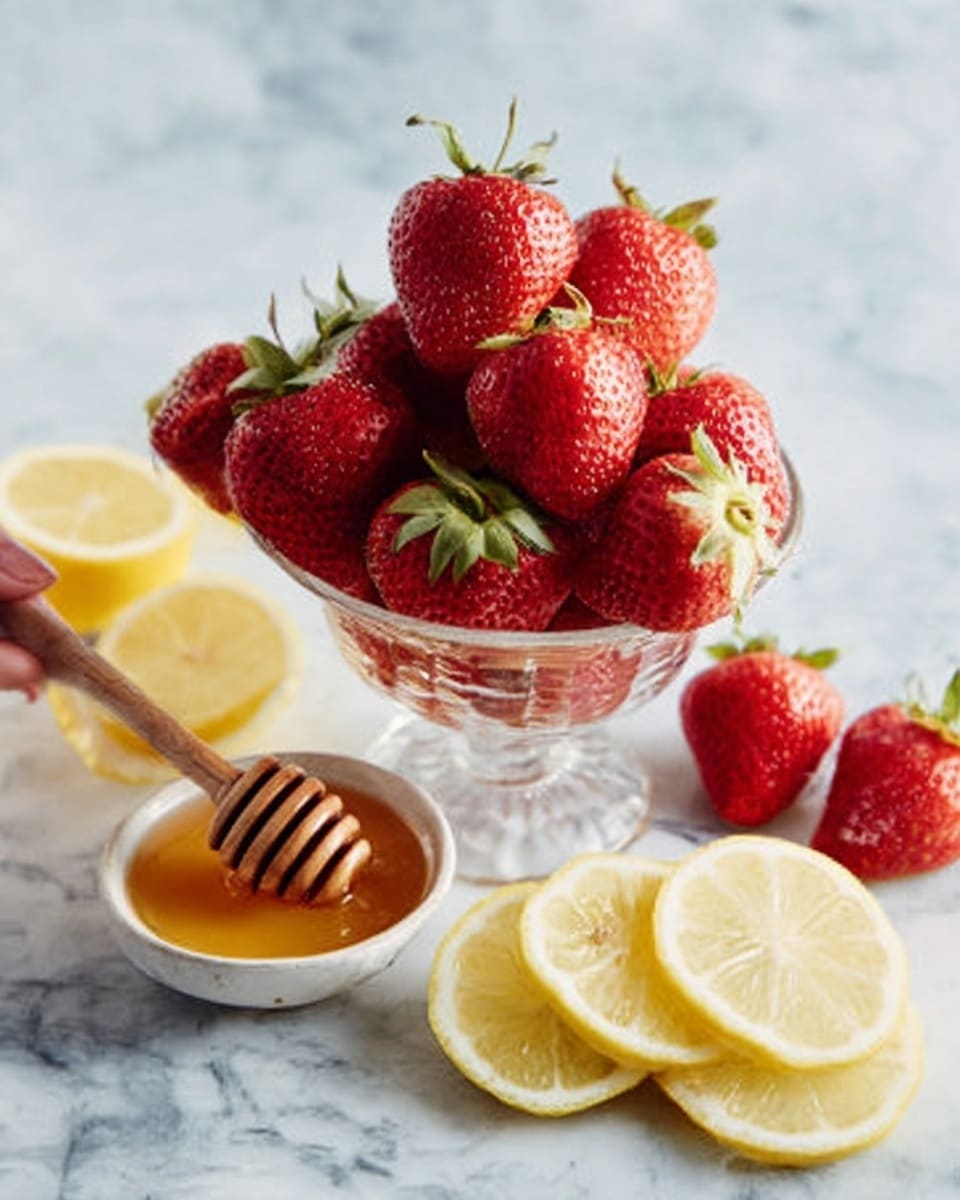
Getting ready to whip up this delight is a breeze since the ingredients are wonderfully simple yet pack a powerful punch in flavor, texture, and color. Each element in this recipe works together to create a fruit roll-up that’s chewy, sweet, and perfectly balanced.
- Fresh or frozen strawberries (3 cups): The star ingredient that gives the roll-ups their rich red color and naturally sweet flavor.
- Honey or maple syrup (1–2 tbsp, optional): Adds a hint of extra sweetness and helps keep the leather pliable.
- Lemon juice (1 tsp): Brightens the fruit flavors and helps preserve the natural color as the fruit dries.
How to Make Easy Strawberry Fruit Roll-Ups Recipe
Step 1: Prepare Your Oven and Baking Sheet
Start by preheating your oven to a low 170 °F (75 °C). This gentle heat is essential for drying the fruit puree without burning it. Line a baking sheet with parchment paper to prevent sticking and make cleanup a cinch.
Step 2: Blend the Ingredients
Pop your hulled strawberries, honey or maple syrup if using, and lemon juice into a blender. Blend until completely smooth—no lumps! This silky puree is what transforms into your chewy fruit leather, so taking the time to get it smooth is key.
Step 3: Spread the Puree
Pour your luscious strawberry puree onto the parchment-lined baking sheet, spreading it evenly to about ⅛ inch thickness. Evenness here ensures your fruit roll-ups dry uniformly and achieve that perfect texture without any overly thin or thick spots.
Step 4: Bake and Dry
Place the baking sheet in your preheated oven and let it bake for 3 to 4 hours. Patience is a virtue here, as the low heat slowly evaporates moisture gently, turning the smooth puree into pliable fruit leather. You’ll know it’s ready when the surface feels dry to the touch but still bends without cracking.
Step 5: Cool, Cut, and Roll
Once dried, remove the fruit leather from the oven and allow it to cool completely. This makes it easier to handle as you cut it into strips. Use scissors or a sharp knife to cut into your preferred sizes, then roll each strip up with parchment to keep them neat and ready to snack on anytime.
How to Serve Easy Strawberry Fruit Roll-Ups Recipe
Garnishes
While fruit roll-ups are already bursting with natural sweetness, you can sprinkle a little cinnamon or a dusting of finely crushed freeze-dried strawberries for added visual appeal and flavor depth. These small touches make snack time extra special.
Side Dishes
Pair these fruity treats with a handful of nuts or some creamy yogurt to balance the sweetness and add texture contrast. They also make a great companion to cheese boards or a fresh fruit salad for a wholesome, colorful snack platter.
Creative Ways to Present
Roll your strawberry fruit leather into bite-sized spirals and stick toothpicks through them for a fun party presentation. Or, layer different fruit roll-ups in a glass jar for a vibrant, rainbow-hued gift idea that’s as pretty as it is tasty.
Make Ahead and Storage
Storing Leftovers
Keep your homemade strawberry fruit roll-ups fresh by storing them in an airtight container at room temperature. They’ll stay chewy and delicious for up to one week—perfect for packing into lunches or grabbing on the go.
Freezing
If you want to make these ahead and keep them longer, freezing is a great option. Wrap individual rolls tightly in parchment or plastic wrap to prevent freezer burn. When properly stored, they can last up to 3 months in the freezer without sacrificing taste or texture.
Reheating
To enjoy frozen fruit roll-ups, simply thaw them at room temperature. They might feel a little sticky at first but will return to their soft, chewy goodness once fully thawed. Avoid microwaving, as it can alter the texture.
FAQs
Can I use frozen strawberries instead of fresh?
Absolutely! Frozen strawberries work just as well in this Easy Strawberry Fruit Roll-Ups Recipe. Just be sure to thaw and drain excess liquid before blending to avoid a puree that’s too watery.
Is honey necessary in this recipe?
Honey or maple syrup is optional. It enhances sweetness and chewiness, but if your strawberries are naturally ripe and sweet, feel free to skip it for a pure fruit flavor.
Can other fruits be used to make fruit roll-ups?
Definitely! While this recipe shines with strawberries, you can easily swap in raspberries, peaches, or mangoes to create new flavor variations that are just as delicious.
How thin should I spread the fruit puree?
Spread the puree evenly to about ⅛ inch thick. Too thin and the roll-ups might become brittle; too thick and they could stay sticky in the middle, so this thickness hits the sweet spot for perfect texture.
What if my fruit roll-ups are too sticky after baking?
If they feel sticky, they likely need a bit more drying time in the oven. Simply return them to bake at the same temperature for another 15-30 minutes, checking frequently to avoid over-drying.
Final Thoughts
Making your own fruit snacks at home doesn’t have to be complicated or filled with ingredients you can’t pronounce. This Easy Strawberry Fruit Roll-Ups Recipe brings you back to the simple joys of fresh fruit transformed into a chewy, sweet delight that you and your family will adore. Trust me, once you roll these up, you’ll never go back to store-bought again. Grab your strawberries and give it a try—you’re in for a real treat!
Print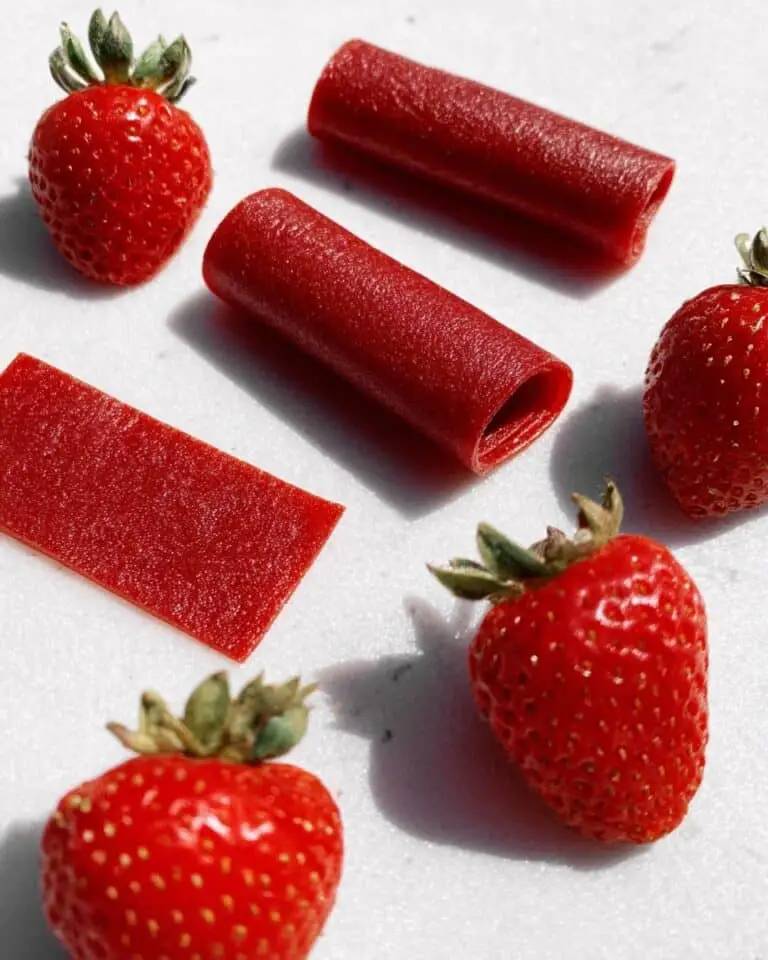
Easy Strawberry Fruit Roll-Ups Recipe
Delicious and easy homemade strawberry fruit roll-ups made with simple ingredients like fresh strawberries, honey, and lemon juice. These fruit leathers are naturally sweet, preservative-free, and perfect as a healthy snack for kids and adults alike.
- Total Time: 3 hours 10 minutes to 4 hours 10 minutes
- Yield: 10 roll-ups
Ingredients
Fruit Leather
- 3 cups fresh or frozen strawberries, hulled
- 1–2 tbsp honey or maple syrup (optional)
- 1 tsp lemon juice
Instructions
- Preheat Oven: Preheat your oven to 170 °F (75 °C) and line a baking sheet with parchment paper. This low temperature will gently dry the fruit without cooking it too quickly.
- Blend Ingredients: In a blender or food processor, combine the strawberries, honey or maple syrup if using, and lemon juice. Blend until the mixture is completely smooth and uniform in consistency.
- Spread Puree: Pour the strawberry puree onto the prepared baking sheet. Use a spatula to spread the puree evenly into a thin layer about 1/8 inch thick to ensure even drying.
- Bake Fruit Leather: Place the baking sheet in the oven and bake for 3 to 4 hours. The fruit leather is ready when it is dry to the touch but still flexible and not brittle.
- Cool and Cut: Allow the fruit leather to cool completely on the baking sheet. Once cooled, cut into strips using scissors or a sharp knife.
- Roll and Store: Roll each strip tightly with parchment paper to prevent sticking. Store the roll-ups in an airtight container for up to 1 week.
Notes
- Store the fruit roll-ups airtight for up to 1 week to maintain freshness.
- This recipe also works well with other fruits such as raspberries, mango, or peaches for flavor variations.
- Prep Time: 10 minutes
- Cook Time: 3 to 4 hours
- Category: Snack / Kids Treat
- Method: Baking
- Cuisine: American
- Diet: Vegan

