Indulge in a delicious and healthy dessert with this flourless chocolate protein cake! Perfect for anyone looking to enjoy a guilt-free treat, this cake is packed with protein, rich chocolate flavor, and creamy cashew frosting. Whether you’re following a fitness routine or just craving something sweet, this cake is an excellent choice!
Why You’ll Love This Recipe
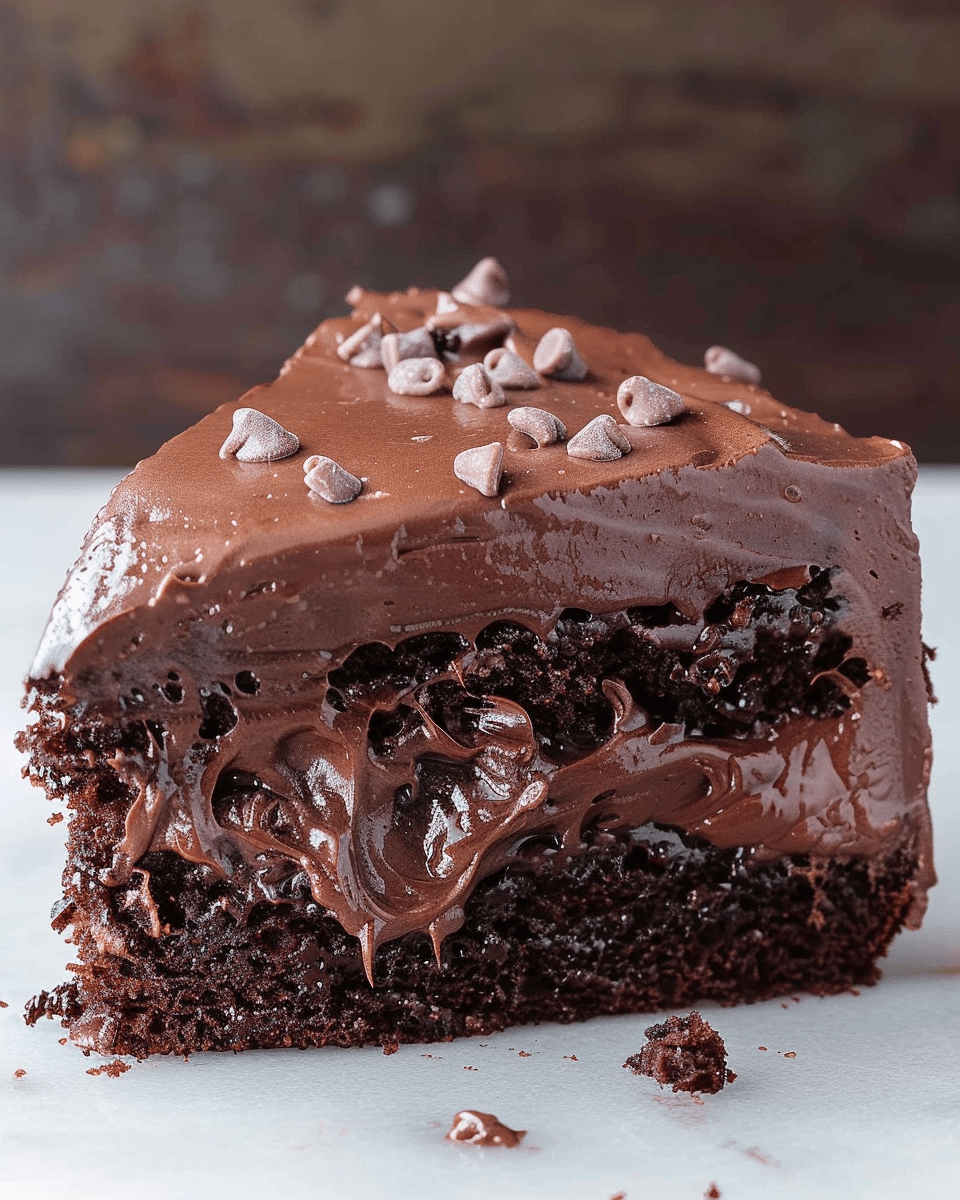
This Chocolate Protein Cake is a healthier twist on the classic chocolate cake, made without flour and full of natural ingredients. The cake itself is made with chocolate whey protein and unsweetened applesauce, providing a rich and moist texture. The cashew frosting is smooth, creamy, and lightly sweetened with stevia, making it the perfect topping. Plus, it’s gluten-free, flourless, and can easily fit into your balanced diet without the guilt. A great option for a post-workout treat or a healthier dessert!
Ingredients
(Tip: You’ll find the full list of ingredients and measurements in the recipe card below.)
For the Cake:
- 2 cups natural chocolate whey protein (180g)
- ½ cup cocoa powder (40g) (black cocoa recommended)
- 1 ½ cups unsweetened applesauce (500g)
- 2 teaspoons baking powder
- ¼ teaspoon sea salt
For the Frosting:
- 1 ½ cups raw cashews (170g), soaked for 4 hours or more in filtered water
- ½ cup water (or more, as needed)
- 2 tablespoons cocoa powder (10g) (black cocoa recommended)
- 2 packets stevia (2g)
- ¼ cup natural chocolate whey protein (23g)
For the Topping:
- Cacao nibs (optional)
Directions
- Prepare the Frosting: Drain and rinse the soaked cashews and place them in a blender. Add ½ cup filtered water and blend until smooth and creamy. If necessary, add more water by the tablespoon until you reach a thick but spreadable consistency.
- Add Flavor to the Frosting: Add cocoa powder, stevia, and whey protein to the blender. Blend again until fully incorporated. Transfer the frosting to the freezer while you bake the cake to help it firm up.
- Preheat the Oven: Preheat your oven to 325°F (163°C). Line two 6″ round cake pans with parchment paper. Alternatively, you can bake one layer at a time if you only have one pan.
- Prepare the Cake Batter: In a large mixing bowl, combine the chocolate whey protein, cocoa powder, applesauce, baking powder, and sea salt. Mix well until the batter is smooth and fully combined.
- Bake the Cake: Pour half of the batter into each cake pan. Bake for approximately 15 minutes, checking the cakes every 1-2 minutes once they begin to firm up. Remove from the oven as soon as the cakes are firm, but be careful not to over-bake.
- Cool the Cakes: Allow the cakes to cool in the pans for a few minutes, then transfer to a wire rack to cool completely.
- Assemble the Cake: Once the cakes are cooled, place one layer on a serving plate. Spoon half of the frosting on top and spread it evenly. Place the second layer on top and spread the remaining frosting over the top of the cake.
- Optional Topping: Sprinkle cacao nibs on top for added texture and a little extra chocolate flavor (optional).
- Serve and Enjoy: Slice the cake into 6 servings, and enjoy this delicious, protein-packed treat!
Servings and Timing
- Prep Time: 15 minutes
- Cook Time: 20 minutes
- Total Time: 35 minutes
- Servings: 6
Variations
- Dairy-Free Option: Use a plant-based protein powder and soak the cashews in coconut milk instead of water for a dairy-free version of this cake.
- Nut-Free Frosting: If you’re allergic to nuts, try using a store-bought or homemade coconut cream frosting instead of cashew frosting.
- Add-Ins: You can add chocolate chips or chopped nuts to the batter for extra texture and flavor.
Storage/Reheating
- Storage: Store any leftover cake in an airtight container in the refrigerator for up to 3-4 days.
- Reheating: You can enjoy this cake chilled or at room temperature. If you prefer to warm it, microwave individual slices for 10-15 seconds.
FAQs
1. Can I use a different protein powder?
Yes, you can use other protein powders like vanilla or plant-based, but it may slightly change the flavor and texture of the cake.
2. Is this cake gluten-free?
Yes, this cake is naturally gluten-free as it does not contain any flour.
3. Can I use regular cocoa powder instead of black cocoa?
Yes, you can use regular cocoa powder, but black cocoa powder gives the cake a richer chocolate flavor and darker color.
4. Can I substitute the applesauce with something else?
You can substitute the applesauce with mashed bananas or pumpkin puree, though it may alter the flavor of the cake.
5. How do I know when the cake is done?
The cake is done when it is firm to the touch and a toothpick inserted into the center comes out clean or with just a few moist crumbs.
6. Can I freeze this cake?
Yes, you can freeze the cake by wrapping it tightly in plastic wrap and storing it in a freezer-safe container for up to 3 months. Thaw it in the fridge before serving.
7. Can I make the frosting ahead of time?
Yes, you can make the frosting a day ahead and store it in the fridge. Just give it a good stir before using it.
8. How should I store the cake?
Keep the cake in the refrigerator to keep the frosting fresh. Cover it with plastic wrap or store it in an airtight container.
9. Can I add sweeteners other than stevia?
Yes, you can use other sweeteners like honey, maple syrup, or monk fruit, but it may affect the texture and sweetness level.
10. Can I make this cake without the frosting?
Yes, you can enjoy the cake on its own without frosting for a simpler, less indulgent treat.
Conclusion
This Chocolate Protein Cake is a perfect balance of healthy ingredients and indulgent chocolate flavor. With its protein-packed base and creamy, cashew frosting, this flourless cake offers a guilt-free way to enjoy a rich dessert. Whether you’re looking for a post-workout treat or a healthier alternative to traditional cake, this recipe will satisfy your sweet tooth without compromising your diet goals. Try it today for a delicious and nutritious treat!
Print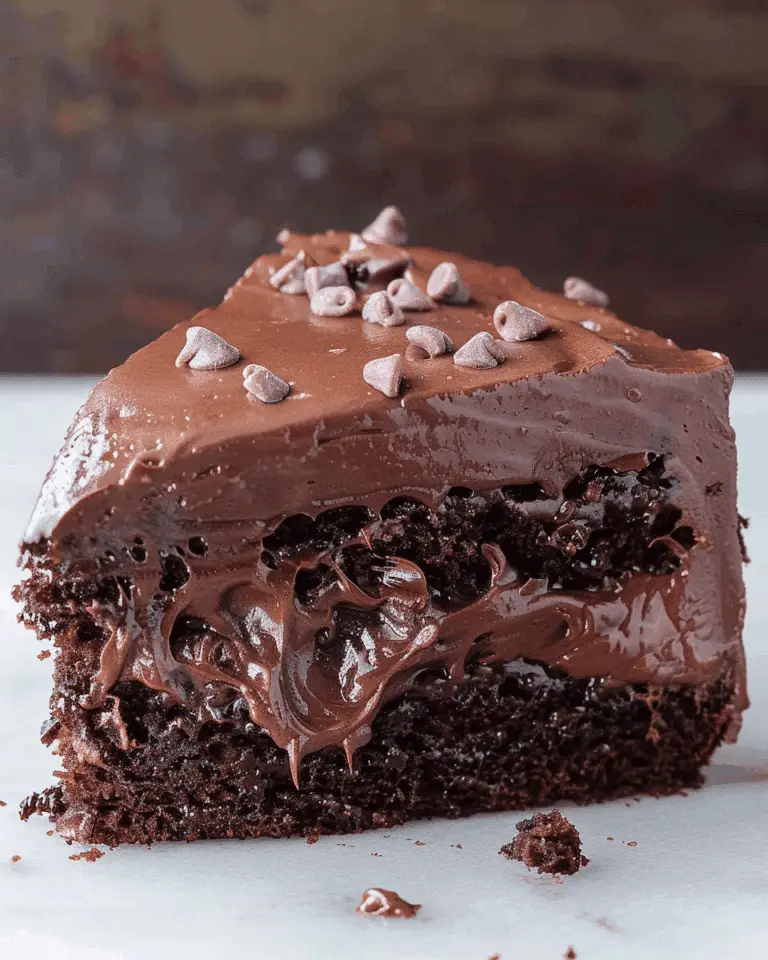
Chocolate Protein Cake (Healthy, Flourless)
This Healthy Flourless Chocolate Protein Cake is a guilt-free, high-protein dessert made with natural chocolate whey protein and cocoa powder. It features a rich, creamy cashew frosting and a deliciously moist texture, perfect for those looking to indulge without compromising on health. This easy recipe makes a small, double-layer cake ideal for 6 servings.
- Total Time: 35 minutes
- Yield: 6 servings
Ingredients
For the Cake:
2 cups natural chocolate whey protein (180g)
1/2 cup cocoa powder (40g, black cocoa preferred)
1 1/2 cups unsweetened applesauce (500g)
2 teaspoons baking powder
1/4 teaspoon sea salt
For the Frosting:
1 1/2 cups raw cashews (170g), soaked for 4+ hours
1/2 cup water (or more, as needed)
2 tablespoons cocoa powder (10g, black cocoa preferred)
2 packets stevia (2g)
1/4 cup natural chocolate whey protein (23g)
For the Topping:
Cacao nibs (optional)
Instructions
Prepare the Frosting:
Drain and rinse the soaked cashews. Add them to a blender with 1/2 cup filtered water. Blend until smooth and creamy, adding more water by the tablespoon if necessary to achieve a thick, creamy consistency.
Add cocoa powder, stevia, and chocolate whey protein to the blender and blend until smooth.
Place the frosting in the freezer to cool while you bake the cake.
Preheat the Oven:
Preheat your oven to 325°F (163°C). Line two 6-inch round cake pans with parchment paper (or use one pan and bake the cakes one at a time).
Make the Cake Batter:
In a mixing bowl, combine all cake ingredients until fully mixed and smooth.
Pour half of the batter into each prepared pan.
Bake the Cakes:
Bake for about 15 minutes. Check for firmness every 1-2 minutes, and remove the cakes once they are firm to the touch. Be careful not to over-bake.
Assemble the Cake:
Once the cakes have cooled, spoon half of the cashew frosting onto the bottom layer of the cake.
Place the second layer on top and spread the remaining frosting on the top layer.
Garnish and Serve:
Optionally, top with raw cacao nibs for extra crunch and flavor.
Slice and enjoy!
Notes
Consistency Tip: If the frosting is too thick, add a tablespoon of water at a time until you reach the desired consistency.
Storage: Store any leftovers in the refrigerator to keep the cake fresh.
Alternative Sweeteners: If you prefer, you can substitute stevia with another low-calorie sweetener or honey, but adjust the amount to taste.
- Prep Time: 15 minutes
- Cook Time: 20 minutes
- Category: Dessert
- Method: baked
- Cuisine: American
- Diet: Gluten Free

